 We first created a visual of what we wanted our cannon to end up looking like which would maximize pressure and minimize volume. In short, we came up with a very intelligent design which used a bottom chamber attached to a funnel to force the pressure through a small space onto the abll propelling it farther.
After we came up with our design, we began to make measurements and markings all over our 2 tennis ball cans.

After we made our markings, we cut isoceles triangles out of the sides of the cans which we folded together to create a cone like shape. This allowed the pressure to build up and push out the very tip, through a small space.

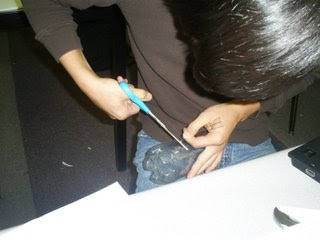
After we began to cut our bottles and forge our cannon, everyone got in on the action. Nathan here is cutting, very skillfully, the triangles to take out to create the cone.

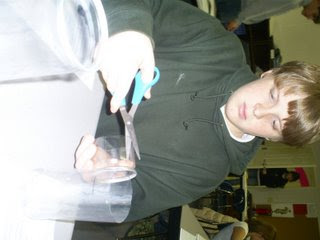
Here is another picture of one of our group members, cutting intently on our bottles to help create the cannon.
 Jack also helped in carefully cutting the bottles while trying to remain uninjured. (No one was hurt in the making of this cannon).
Last, but not least, was me who was trying to put my plan of a two part cannon with a cone funnel into action.

After we were finished with the hard part of the project, we began to tape up the cannon to secure it and make sure that no air would be released.

This is a picture of our finished product and our group.
No comments:
Post a Comment